
M
modler2
Guest
GM Version: Studio 1.4
Target Platform: Tested on Android and Windows
Summary: This is 9 steps but it is pretty straight forward if you follow all the steps. This tutorial assumes that you already have your .obj model created. Drag and drop your .obj model onto the converter file attached below. Then you import it, set up the scripts and you're good to go! I have actually found using custom models to be a huge benefit to make your game not only look but run better as you have much greater control over the poly count.
Converter: https://www.mediafire.com/?3bmmmo5izl2ygfl
Step 1: Drag your .obj model onto the converter attached above, it will output a .mod file
step 2: Open GameMaker Studio and open your project file
Step 3: right click on included files and import the outputted file (.mod)
Step 4: Create a script and call it "scr_load_model"
in this script insert this code:
Step 5: create a script called "scr_load_gamemodels"
in this script insert this code:
Step 6: create an object called "obj_loader"
in the create event of obj_loader but this code:
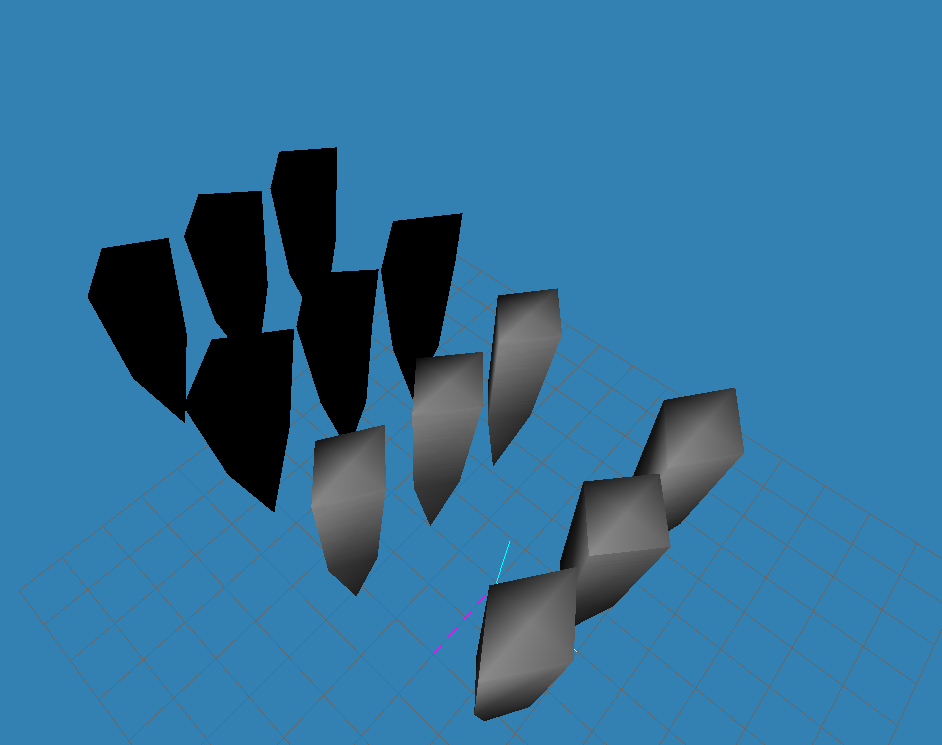
Step 7: create object for your model (mine was spikes)
in the draw event of your model object put this code:
Step 8: create a room called "loader", put the obj_loader in it and make sure it is the first room on your list.
Step 9: put your model object in any other room and enjoy your custom 3d model!
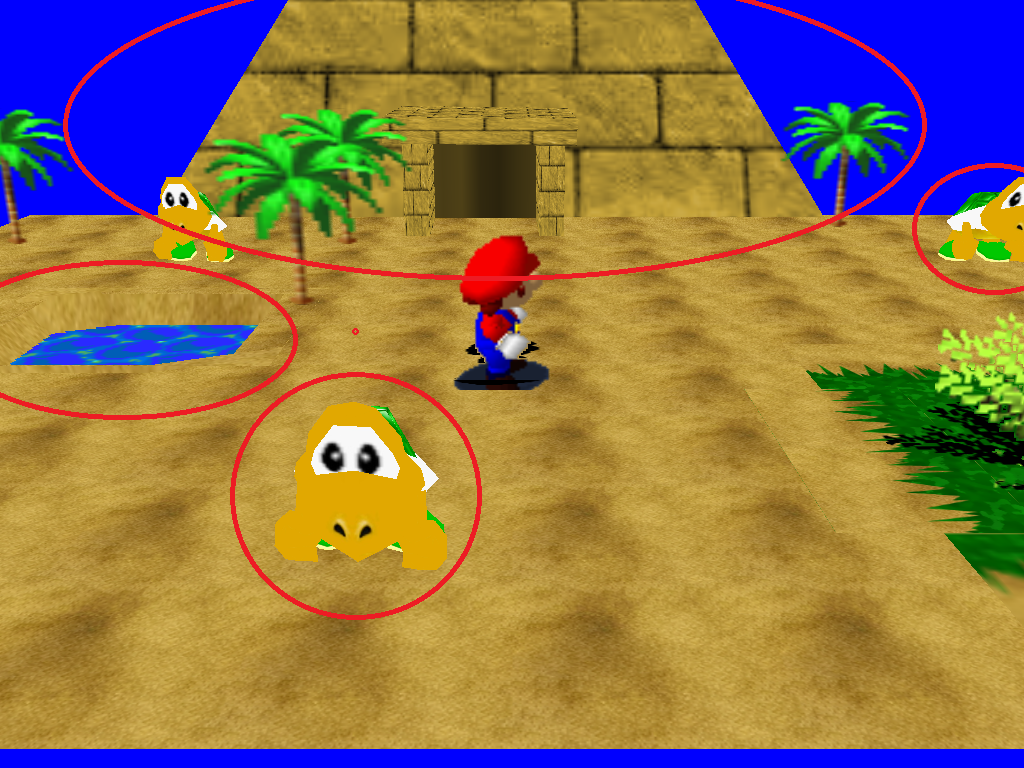
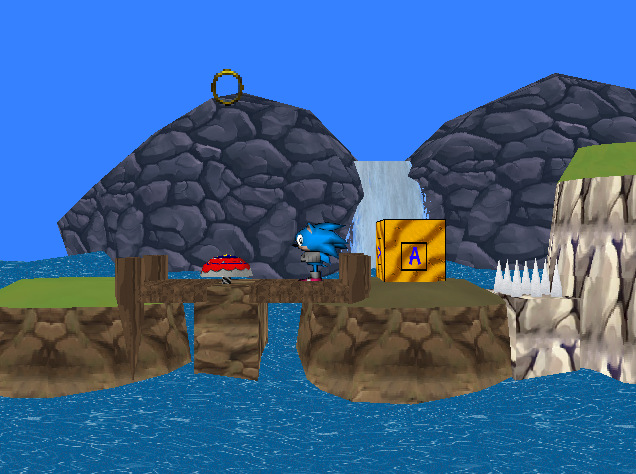
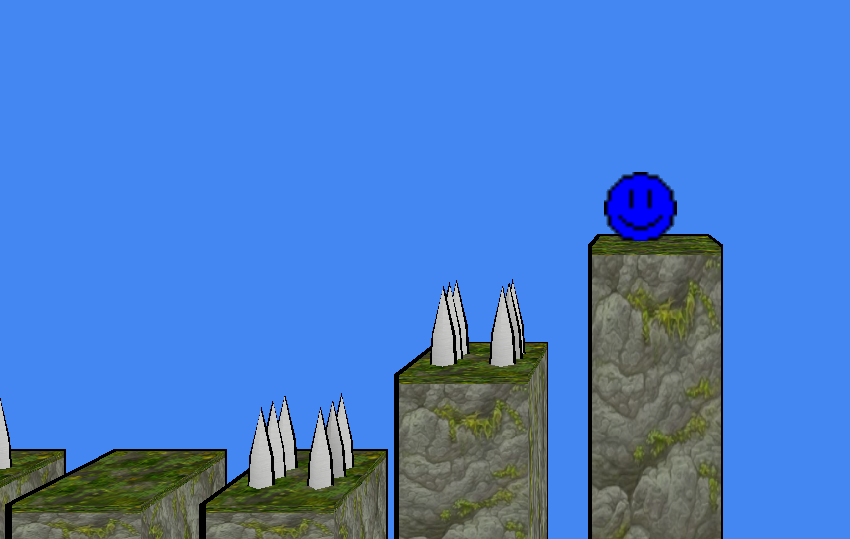
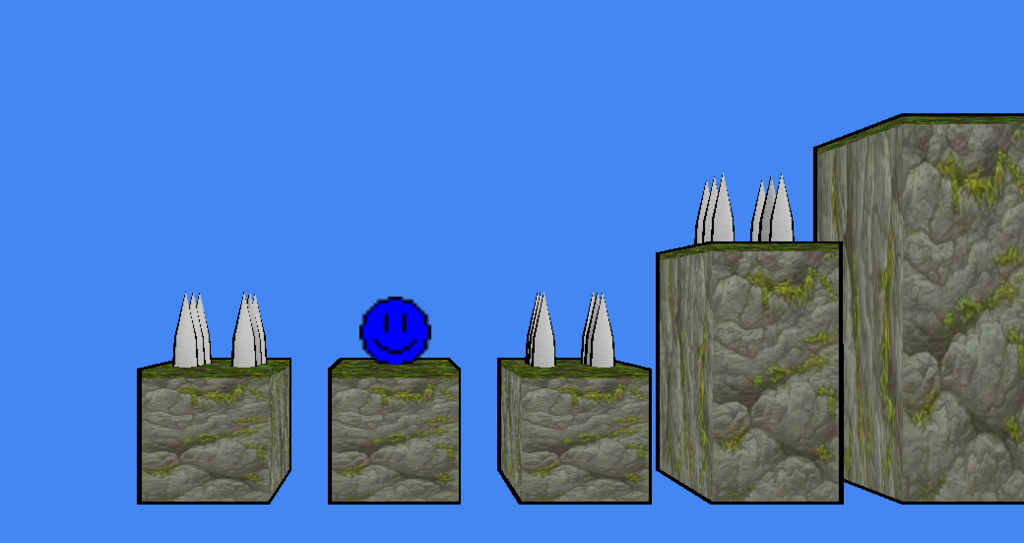
here are some examples of custom models I've imported using this:
_______________________________________________________________________________
This will show you how to edit your already existing .obj model to have a black outline like in most cell shaded games.
This part assumes you have a base understanding of 3d model editing. I did this using MilkShape 3d however pretty much any model editor can be used.
step 1: prepare your texture for your model, however on the texture draw a black spot. As seen here:
step 2: select your 3d model and duplicate the model.
step 3: make your duplicated just slightly larger.
step 4: retexture your duplicate with the black section of your texture so it looks like this:
Step 5: select all the faces of your duplicate and reverse vertex order
step 6: move your duplicate over the original model (disable drawing backfaces if it is enabled) it should now look like this:

step 7: set up and import model as shown above this tutorial but in the draw script of your model object put this code:
Code:
d3d_set_culling(true)
d3d_model_draw( global.mod_YOURMODELNAME, x, y-10, 0, sprite_get_texture(YOURTEXTURENAME,0) );
it should now have a black outline in game like this:
Enjoy adding outlines to your custom 3d models!
Target Platform: Tested on Android and Windows
Summary: This is 9 steps but it is pretty straight forward if you follow all the steps. This tutorial assumes that you already have your .obj model created. Drag and drop your .obj model onto the converter file attached below. Then you import it, set up the scripts and you're good to go! I have actually found using custom models to be a huge benefit to make your game not only look but run better as you have much greater control over the poly count.
Converter: https://www.mediafire.com/?3bmmmo5izl2ygfl
Step 1: Drag your .obj model onto the converter attached above, it will output a .mod file
step 2: Open GameMaker Studio and open your project file
Step 3: right click on included files and import the outputted file (.mod)
Step 4: Create a script and call it "scr_load_model"
in this script insert this code:
Code:
//argument0 = name of the model

//returns the model
var t_model;
t_model = d3d_model_create();
d3d_model_load( t_model, argument0 );
return t_model;in this script insert this code:
Code:
//level models
global.mod_yourmodel = scr_load_model( "YOURFILENAME.mod" );in the create event of obj_loader but this code:
Code:
script_execute(scr_load_gamemodels);
room_goto_next();in the draw event of your model object put this code:
Code:
d3d_model_draw( global.mod_yourmodel, x, y, 0, sprite_get_texture(tex_spikes,0) );Step 9: put your model object in any other room and enjoy your custom 3d model!
here are some examples of custom models I've imported using this:


_______________________________________________________________________________
This will show you how to edit your already existing .obj model to have a black outline like in most cell shaded games.
This part assumes you have a base understanding of 3d model editing. I did this using MilkShape 3d however pretty much any model editor can be used.
step 1: prepare your texture for your model, however on the texture draw a black spot. As seen here:

step 2: select your 3d model and duplicate the model.
step 3: make your duplicated just slightly larger.
step 4: retexture your duplicate with the black section of your texture so it looks like this:

Step 5: select all the faces of your duplicate and reverse vertex order
step 6: move your duplicate over the original model (disable drawing backfaces if it is enabled) it should now look like this:

step 7: set up and import model as shown above this tutorial but in the draw script of your model object put this code:
Code:
d3d_set_culling(true)
d3d_model_draw( global.mod_YOURMODELNAME, x, y-10, 0, sprite_get_texture(YOURTEXTURENAME,0) );
it should now have a black outline in game like this:


Enjoy adding outlines to your custom 3d models!
Last edited by a moderator: